- Welcome
- StarWheel Gallery
- The StarSpheres
- The StarWaves
- StarWheel Online Store
- SW Wisdom Cards
- SW Reading with Aya
- About Aya
- En Français
- StarWheel Vision
- Creative In-Spiration
- SW Stencil Gallery
- Aya Now Blog
- Sacred Arts 21st
- SW Collection for Sale
- 13 StarWheels for Sale
- Creative Investments
- StarWheel Foundation
- Fund Raising for Land
- Sacred Geometry School
- StarDome Eco-Campus
- SW Museum Project
- SW Commissions
- Sheevaya Designs
- StarWheel Picto-Koans
- StarWheel Sutras
- 3D StarWheels
- SW 3D Animations
- Mystical Poetry by Aya
- We Are light
- Mandalas by Children
- Global Mandala Contest
- SW Games
- Sacred Labyrinths
- Sedona Tours
- Studio Visits with Aya
- Peace Garden
- Earth Paradise Garden
- Global Renaissance

- Family Links
- Join the SW Club
- SW Testimonials
- Search the StarWheels
- Using the StarWheels
- Mandala Making Notes
- Download SW Designs
- Upcoming Events
- Donations
- Permission to use
- Contact The Team

The SW Stencil Gallery
The Art & Beauty of Stencils
Here, we are sharing a description of the stencil process used by Aya
in creating the StarWheel mandalas.
You can also see various examples of the actual large-size stencils
that were the delicate "interface"
between the original design and the completed painting.

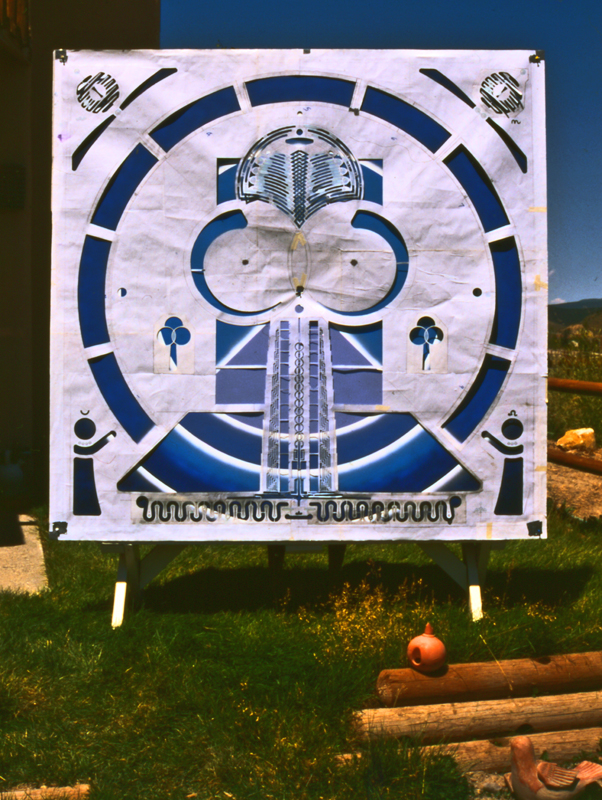
Stencil for StarWheel #58 "Dome Mountain". Colorado, 1994.
The technical steps of creating a StarWheel mandala are the following:
1. The feeling of being inspired with a new mandala design.
2. The drawing of the mandala design upon a 6' x 6' grid paper (usually 10 divisions to the inch) that serves as a reference to compute the various symmetries and geometries. The very first (geocosmic) act is to mark the center - and, in so doing, to become the center. Then, using a large compass, the boundary of the mandala is traced along with the main geometric architecture.
3. When the drawing is completed with a satisfying sense of "recognition", a stencil is created by sandwiching the paper drawing between waxy stencil paper in the back and clear adhesive plastic in the front. This 3-layer piece is the stencil which then needs to be very precisely cut out (with an x-acto knife) along the lines (and curves) of all the designs forming a stencil unit. (Background & Foreground in Stencils). Cutting a stencil can take up to a week depending on the complexity of the StarWheel and whether one or multiple sub-stencils are used.
4. When the cutting is completed, it is time to build and prepare the canvas. All the StarWheel paintings were done on canvas frames built by hand (mostly with a handsaw) and then stretched with primed canvas. I remember being keenly aware that the new mandala meditation journey was starting a the lumber store when selecting the furring strips to be used for the canvas frame. Each of these seemingly "mundane" actions was in essence a cosmic act of co-creation as each mandala was a new universe coming into manifestation. Both an outer and inner awareness of conscious birthing, on many scales and dimensions at once.
5. A basic background geometric structure (harmonious to the upcoming mandala design) is drawn onto the whited-out canvas: each element of this background is airbrushed with the appropriate plain or gradient color, looking for complementary or contrasted colors.
6.The stencil is applied to the canvas, making sure the elements match precisely where they belong.
7. A layer of gesso white is airbrushed through the stencil's windows unto the open canvas spaces.
8. Now comes the time to actually airbrush the final color of each element of the mandala design, with appropriate white highlights. The white represents the brightness of creative light radiating from every shape & form. This is a long process, with potential color splashes and therefore much retouching...
9. At some auspicious sacred moment, the feeling comes that it is "done": the mandala is ready to be "unveiled" - the stencil can be removed to get, for the first time, a complete look at the overall mandala. This is usually the social occasion for a creative ceremony: friends are called upon to celebrate the "unveiling" of the new StarWheel and to offer greetings to the beings of light & the energy frequencies using the StarWheel "body" to manifest in this Earth reality.
10. Upon close examination, a lot of retouching is usually needed, using fine to very fine brushes and/or redoing some airbrushing here and there. This is like the subtle cosmetic touch that will add an overall feel of elegance.
Below is a gallery of StarWheel stencils & paintings at various stages of completion. Enjoy!
Stencil over background for SW #63 "Alpha Omega". Colorado. 1995.
The next step is to white out the "openings" of the stencil and then to airbrush the actual colors,
using sub-stencils to fill in the larger shapes.
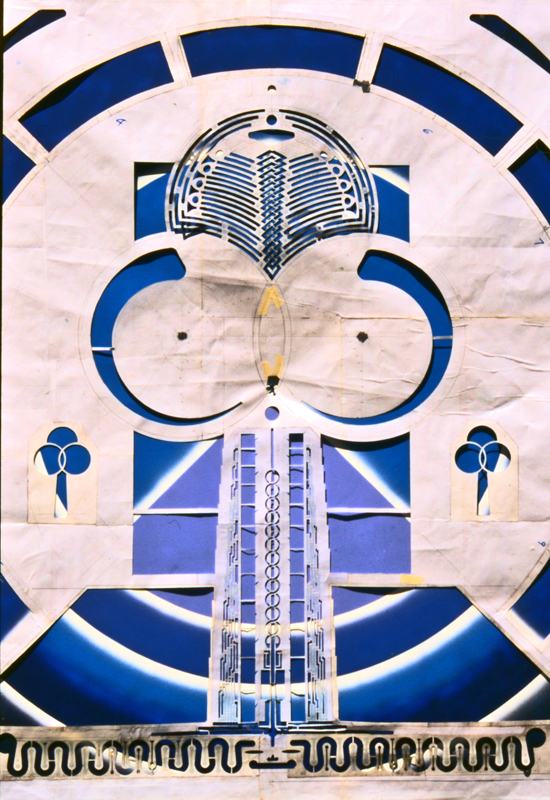
Close-ups of the above stencil for SW #63.
The background colors and geometries are already airbrushed on the canvas.
Also note how the stencil can be "wobbly",
requiring great care to keep it flush onto the canvas when airbrushing.
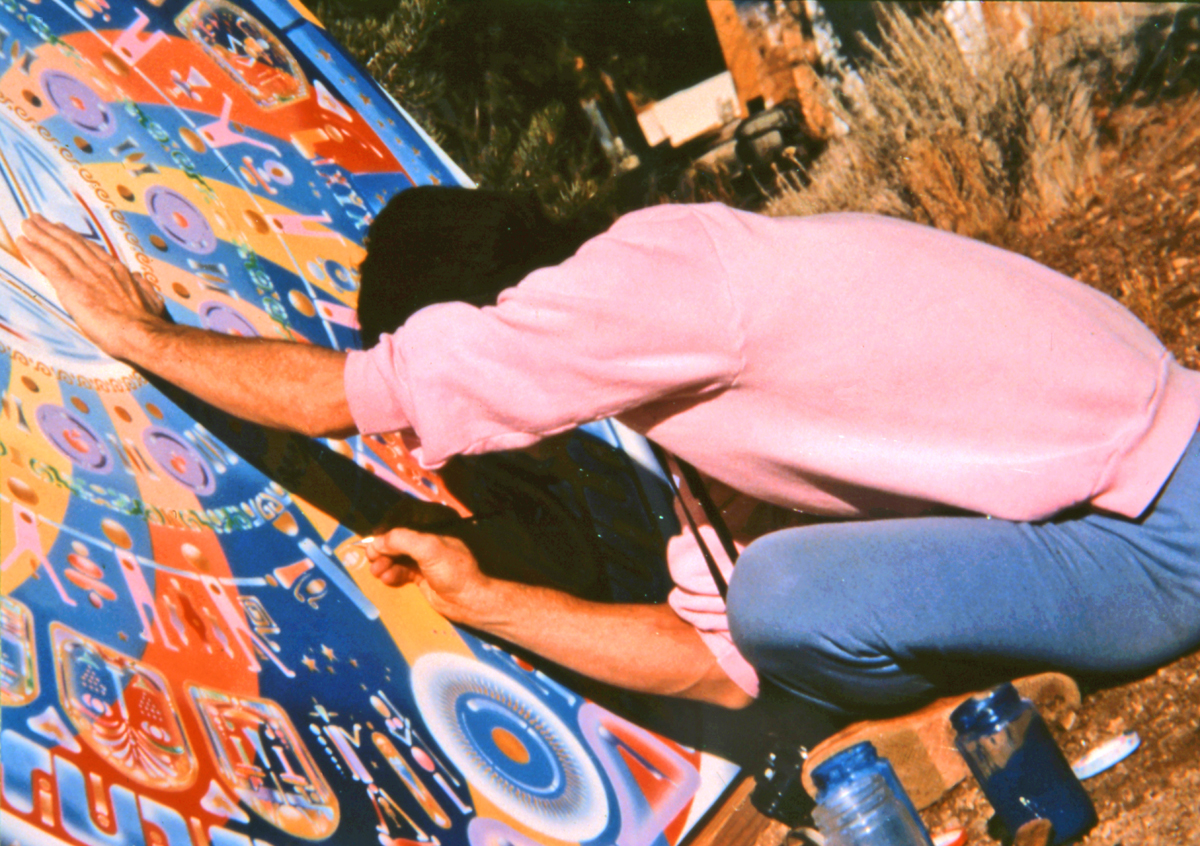
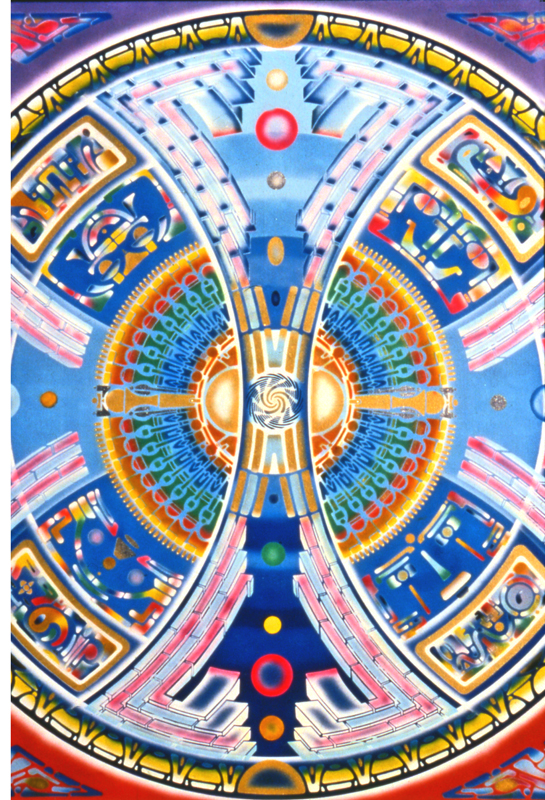
Aya retouching SW # 51 "Spiral Goddess". Santa Fe, New Mexico. 1993.
A line has be drawn as to how perfect the details will be.
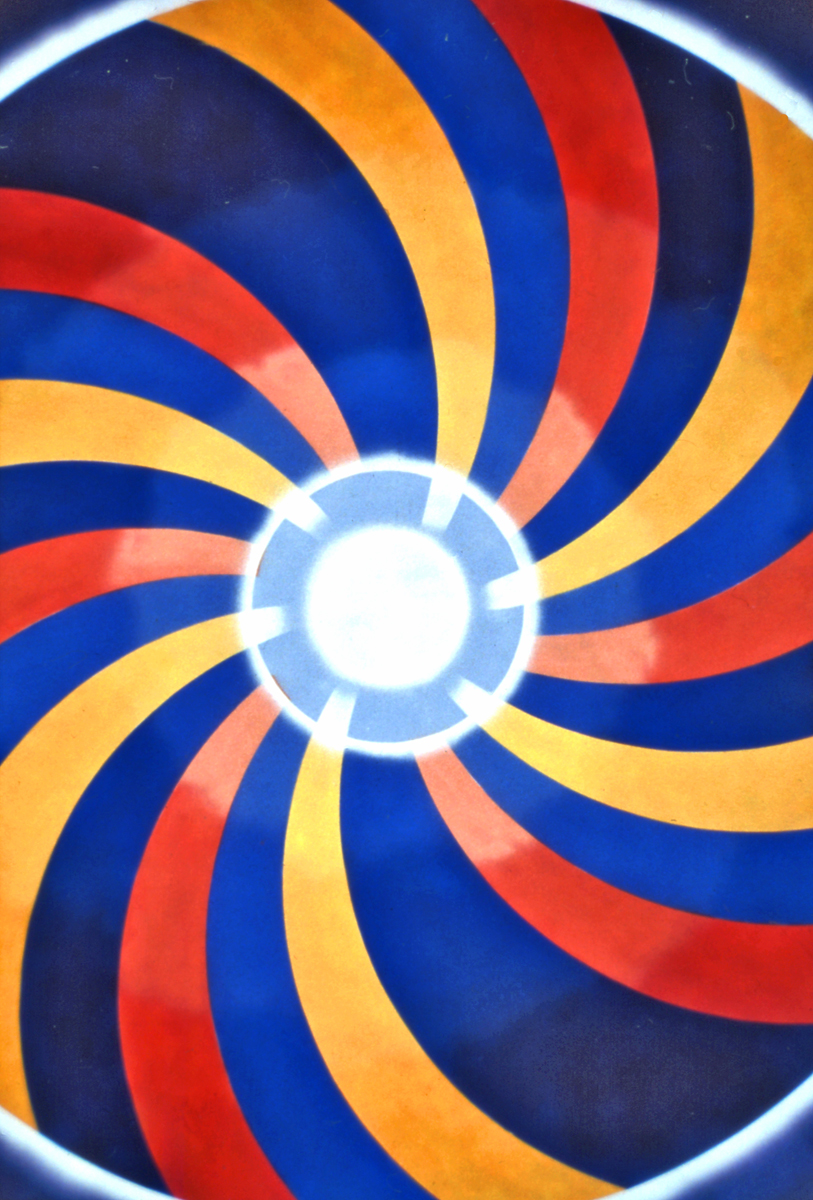
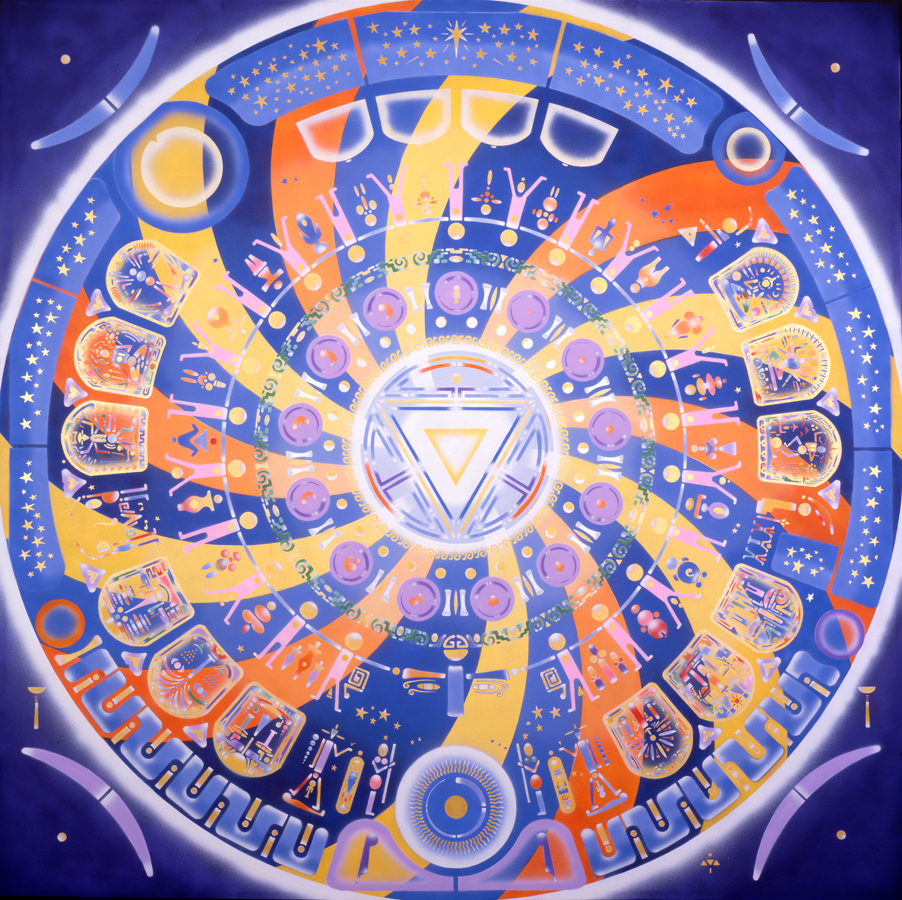
Close-ups of SW #51.
Left: the background spiral beams.
Right: the completed "Spiral Goddess" mandala after airbrushing through stencils.
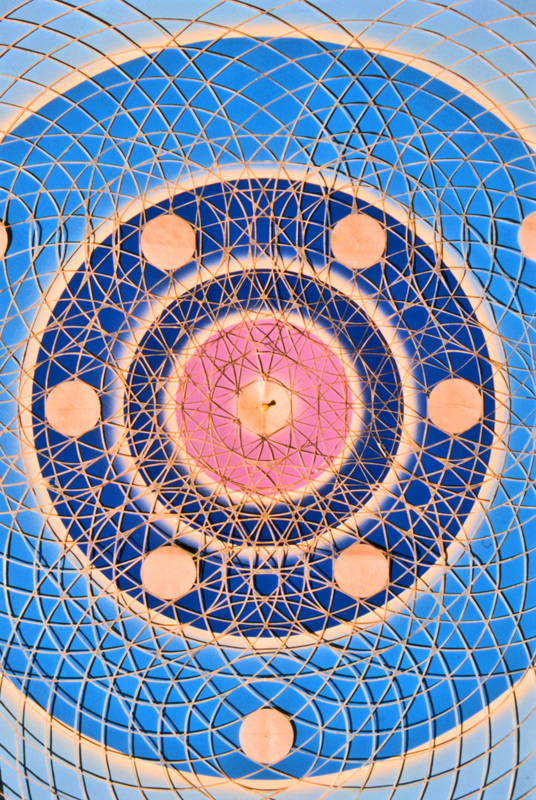

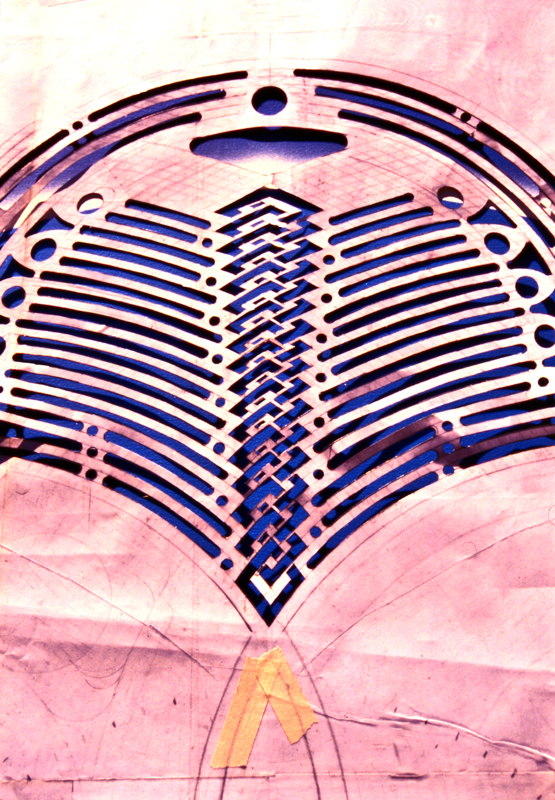
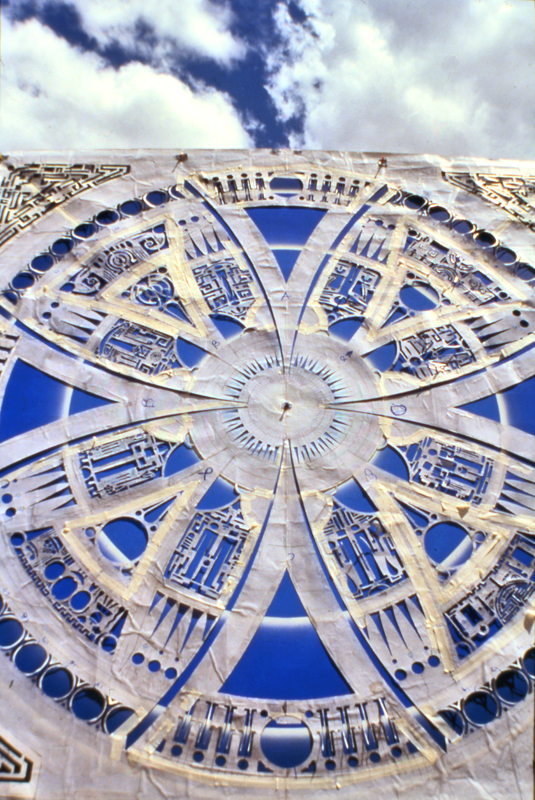
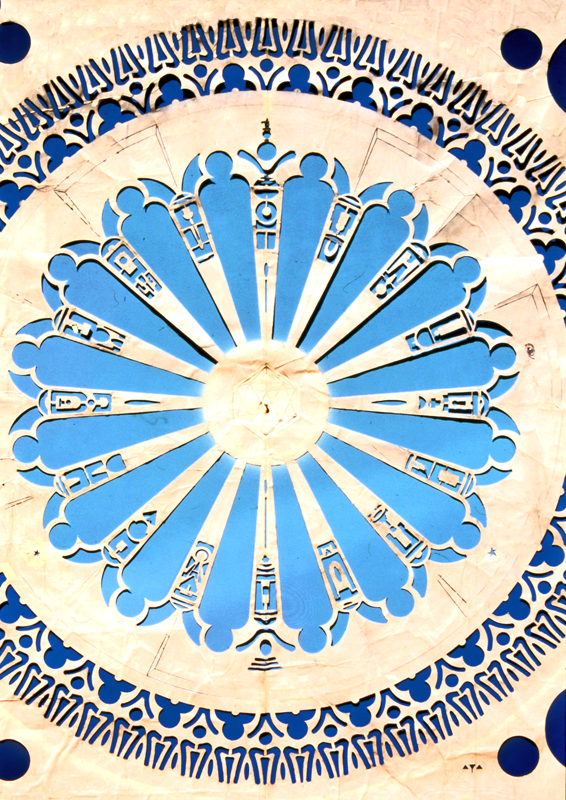
Close-ups of the stencil for SW #75 "Tetraktys Lake".
This lace-like stencil was an exciting challenge.
Stencil for SW #85 "Stella Fortuna". Sedona. 1999.
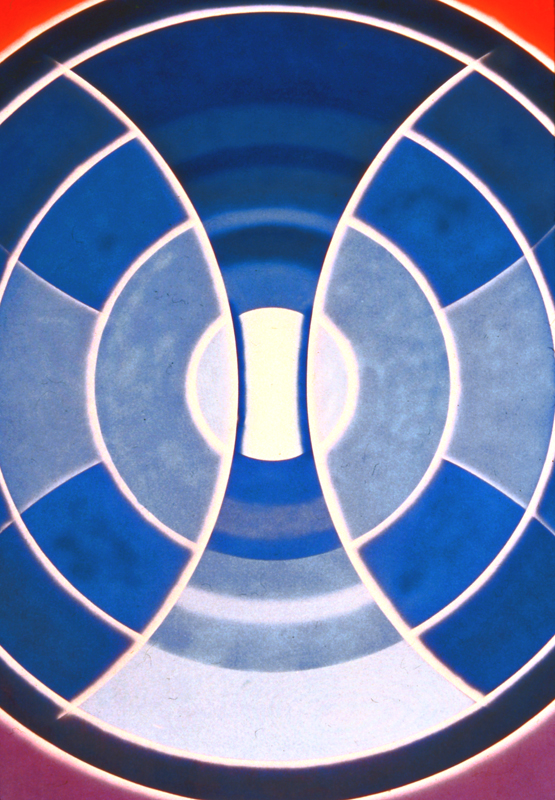
SW #31 "Octave Shift". Santa Monica, California. 1990.
Left: background color geometries on canvas prior to applying stencil.
Right: completed "Octave Shift".
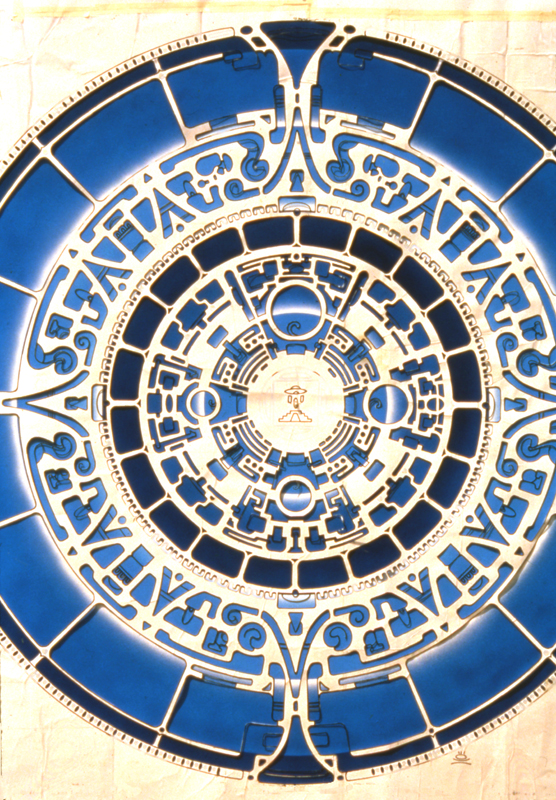
Stencil for SW #25 "Toltec Schield". Santa Monica, California. 1989.
This is a "fractal stencil":
the small & large "windows" accommodate sub-stencils which themselves...
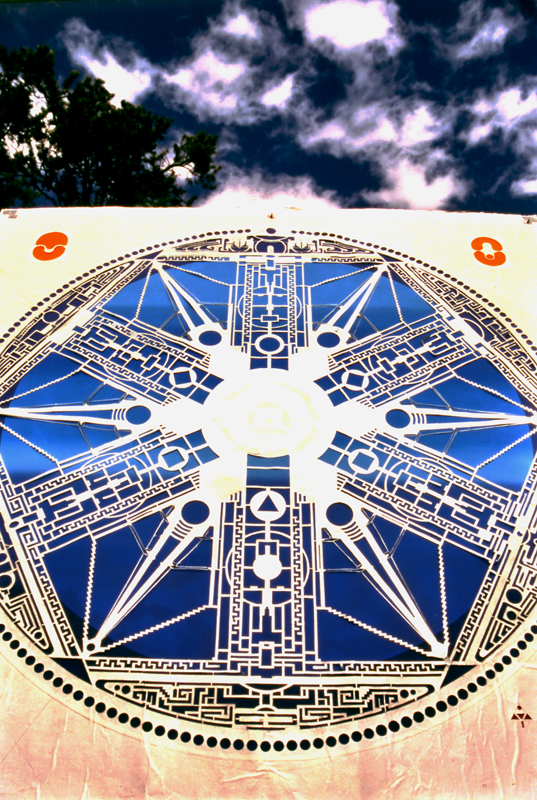
Stencil for SW #91 "Ter-Ne-Ter". Sedona, Arizona. 2000.
Stencil for SW #94 "Sol-3 Mag". Sedona, Arizona. 2000.
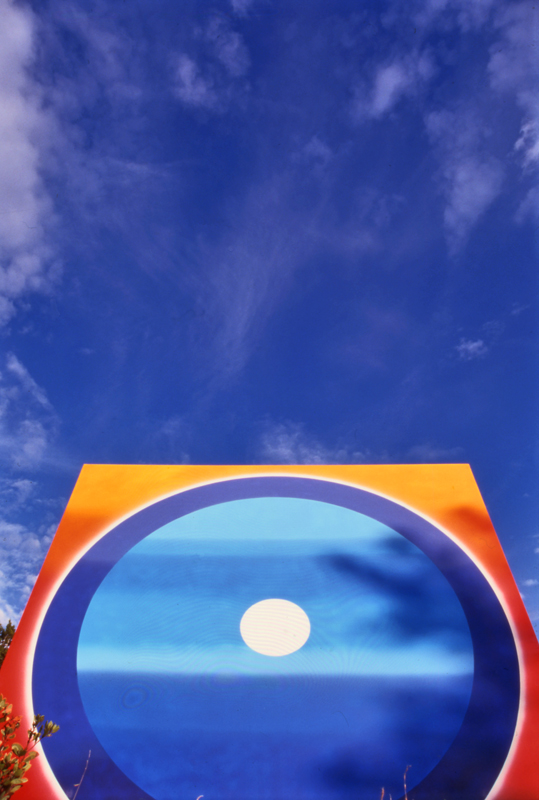
The background for SW #94.
And...
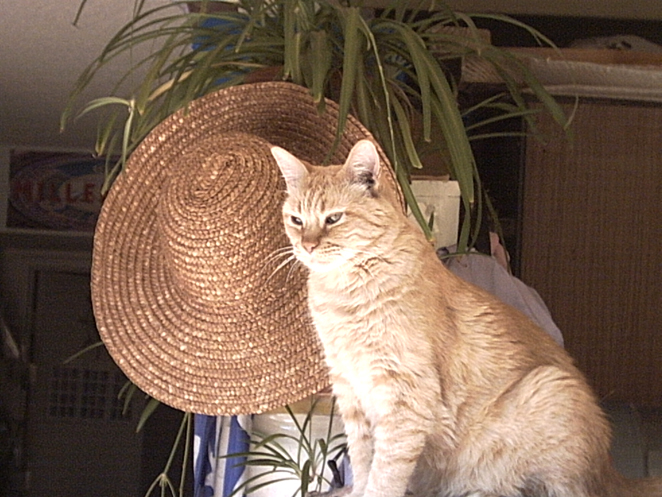
Beeboo the cat, the actual artist.